Create, test, or schedule a broadcast and choose its audience
Prepare a one-time operational or marketing message, preview eligible recipients, test it, and approve a send.
Available to people with permission to create broadcasts; approval and sending require send approval access.
Create a one-time broadcast with a reviewed purpose, frozen audience, tested content, and deliberate approval before anything is sent.
Available to
Owners, admins, staff, and front-desk team members with Broadcasts access can create and edit drafts, review the audience, approve, send, or schedule a broadcast. Readiness and school authorization still control whether a send can proceed.
Before you start
Choose the correct purpose:
- Operational announcement is for necessary school information. Channel opt-outs, suppressions, and delivery checks still apply.
- Marketing broadcast is promotional and reaches only contacts with the required purpose-specific marketing consent.
Confirm that the school’s client communications master control and chosen email or SMS sender are ready. A broadcast is a one-time send; ongoing follow-up belongs in an automation.
Steps
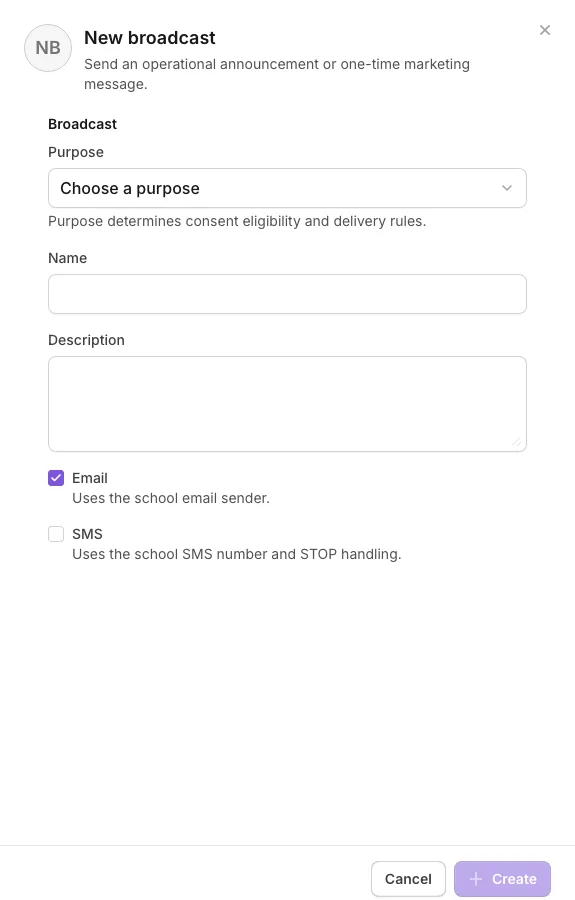
- Open Messages → Broadcasts and select New broadcast.
- Choose Operational announcement or Marketing broadcast under Purpose.
- Enter a name and description, choose Email, SMS, or both, then select Create.
- On Content, enter the email subject and body or SMS body. Check the SMS segment estimate and remember that required opt-out wording may be added automatically. Select Save draft.
- On Audience, choose among Families, Students, Leads, and Other contacts.
- Narrow the audience by searching or selecting people, or by Pipeline, Pipeline stage, Lead tag, Lead source, and Originating form.
- Review Preview total, Eligible, and Suppressed, including the breakdown for each selected channel.
- Select Snapshot filtered audience, or Snapshot N selected people when you explicitly chose people. This freezes the intended recipients for approval.
- On Test, select Send test email or choose an eligible test contact and select Send test SMS. Review the real formatting, links, sender, and opt-out wording.
- On Approval, review the purpose, channels, audience snapshot, send window, and any readiness warning. Select Approve.
- Select Send now for immediate handoff, or enter Schedule send (your local time) and select Schedule.
What happens next
An immediate broadcast begins sending, while a scheduled broadcast waits for the chosen local time. Open Results to review recipient outcomes, and use Settings → Communications → Activity for provider-level updates.
If you do not see this option
Your position may not include broadcast or send approval access. Approval can also remain unavailable until content is saved, an audience snapshot exists, sender setup is ready, and the school has authorized client communications. Demo sends are simulated.
Last reviewed July 25, 2026
Related articles
Was this article helpful?
Your feedback helps us improve the Help Center.